
Last updated
You need primer on new drywall, patches, stains, glossy or oil-based paint, bare wood and bare metal. You can usually skip it when repainting sound, clean latex paint in a similar colour. Some premium paints prime drywall themselves in 2 coats, but water stains and slick surfaces still need a dedicated primer.
When do you need primer before painting?
You need primer when a surface is new, bare, patched, stained or slick. Primer seals porous surfaces, blocks stains and gives paint something to grip. Without it, the finish coats can look patchy, let stains through or peel.
Each surface calls for its own kind of primer:
| Surface | Why it needs primer | Typical primer |
|---|---|---|
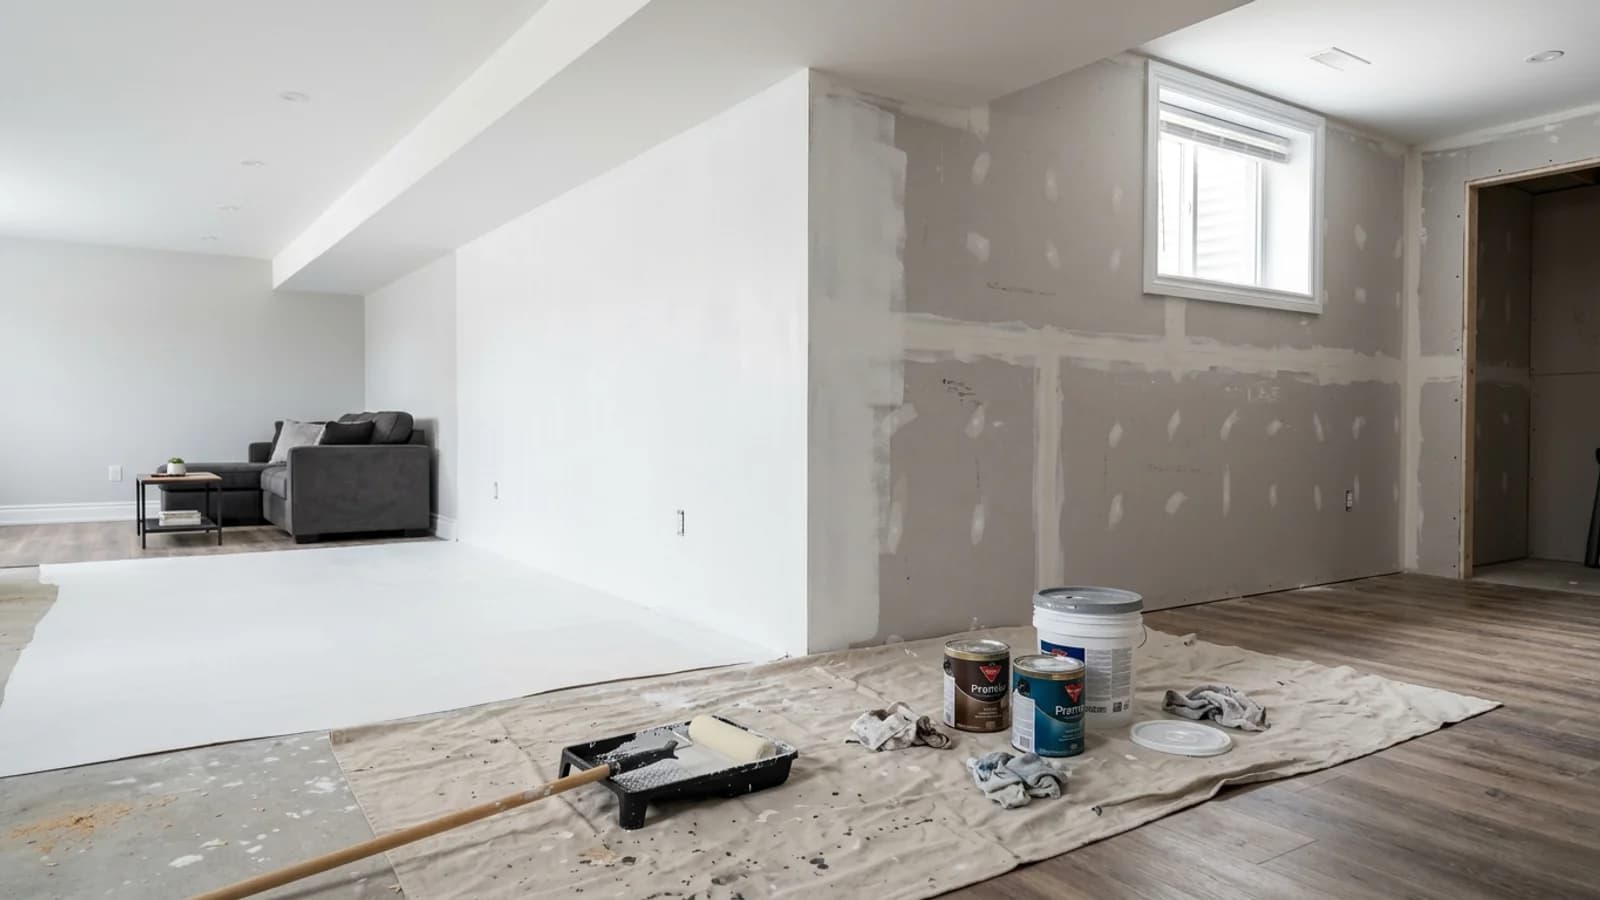
| New drywall | The paper face and the joint compound soak up paint at different rates | A drywall primer, or a self-priming paint in 2 coats |
| Patched holes and cracks | Paint over filler dries duller or shinier than the wall around it | Spot-priming each patch, or priming the whole wall |
| Water, smoke or marker stains | The stain bleeds up through water-based paint | A stain-blocking primer |
| Glossy or oil-based paint | Latex can peel off a hard, slick finish | Sanding, then a bonding primer |
| Bare wood, such as oak or cedar | Tannins and knots can bleed through | A stain-blocking primer, with shellac over knots |
| Bare metal | Steel rusts, and galvanized steel and aluminum are hard to grip | A primer made for that metal |
| New plaster, stucco or concrete | It stays highly alkaline until it cures | A curing wait, then an alkali-resistant masonry primer |
| A big colour change | The old colour can show through two coats | A primer tinted toward the new colour |
Tannin bleed:
yellow or brown staining that rises out of woods such as oak and cedar through water-based paint, unless the wood is sealed with a stain-blocking primer first.
Fresh plaster, stucco and concrete need time before anything goes on. Paint makers' data sheets commonly ask for about 30 days of curing. Our guide to painting stucco covers the outside of the house. Grey and tinted primers for deep colours are explained in how many coats of paint walls need.
When can you skip primer?
You can usually skip primer when you repaint sound, clean latex paint with latex in a similar colour. The old paint is already sealed, so the new coats bond to it well. Two finish coats go straight on.
That holds only if the wall passes a few checks:
- The old paint isn't peeling, flaking or chalky.
- Grease, hand marks and bathroom soap film are washed off.
- Satin, semi-gloss and gloss are scuff-sanded, so the new paint can grip.
- The new colour is close in depth to the old one.
- Bare spots from scraping or patching get spot-primed.
The last point is where most repaints still need a little primer. Paint makers write it into their instructions. Benjamin Moore's data sheet for Regal Select says to prime bare areas on a repaint. The same goes for every patch. The steps are in fixing nail pops, cracks and holes.
Does paint-and-primer-in-one replace primer?
On ordinary surfaces, often yes. On problem surfaces, no. "Paint and primer" means the paint can seal surfaces such as drywall on its own, usually in 2 coats. It doesn't turn the paint into a stain blocker or a bonding primer.
Self-priming paint:
a finish paint rated to seal ordinary surfaces, such as drywall and cured plaster, without a separate primer, usually in two coats.
The data sheets spell out the limits. Benjamin Moore calls Regal Select self-priming on drywall, cured plaster and wood, with two coats on bare surfaces. The same sheet sends you to special primers for water, smoke and grease stains, very slick surfaces, cedar and redwood, and metal.
Sherwin-Williams' sheet for Emerald Interior reads much the same. It self-primes drywall and plaster in two coats. It lists a primer for wood, and says to seal water, smoke and grease stains with a primer-sealer.
So the label saves a step on clean new drywall. Stains, gloss, bare metal and bleeding woods still need the right primer first.
Which primer covers water stains, smoke and marker?
A stain-blocking primer. Water, smoke, marker and tannin stains can bleed up through water-based paint as it dries, even through two coats. A stain blocker seals them in first.
Stain-blocking primer:
a primer made to seal stains such as water marks, smoke, marker and wood tannins, so they can't bleed through the paint on top.
Stain blockers come in three main types:
- Shellac-based. Used for heavy water, smoke and fire stains, and to seal knots in pine. One shellac primer's data sheet says it also seals odours from smoke and pets. The same sheet limits it to spot-priming outdoors.
- Oil-based. Blocks water stains and wood tannins well. It carries far more solvent than water-based primer, so it smells stronger and needs good airflow.
- Water-based. Low odour, for lighter marks such as crayon, pencil and faint water rings. Check its data sheet for the stains it's rated to block.
Fix the cause before you prime. A stain from a leaking bathroom or a roof leak comes back if the water does. Winter ice dams can leave these stains along the outside walls of GTA bungalows. Let the drywall dry out, and replace any section that has gone soft.
How can you tell if old paint is oil-based?
Do the rubbing alcohol test. Dampen a cotton ball with rubbing alcohol and rub a hidden spot for 10 to 15 seconds. If the paint softens and comes off on the cotton, it's latex. If nothing comes off, it's probably oil-based.
Oil-based enamel is common on trim, doors and cabinets in older GTA homes. Latex rolled straight over it can look fine at first, then scratch or peel off in strips. The fix is prep, not a better topcoat:
- Wash the surface to remove grease and grime.
- Sand the gloss dull with fine sandpaper, then vacuum and wipe off the dust.
- Apply a bonding primer made for glossy surfaces.
- Finish with two coats of latex paint or waterborne enamel.
Think about lead before step 2 in an older house. Health Canada says a home built before 1960 probably contains lead-based paint. Have old paint tested before you sand it; a lab can check a paint chip. Health Canada warns against using sanders or heat guns to remove lead-based paint.
Do kitchen cabinets need primer?
Yes, in almost every case. Cabinets carry a factory finish or old enamel, years of cooking grease and daily handling. Paint lasts on them only over a degreased, scuff-sanded surface and a bonding primer.
Three choices decide how well the primer works:
- Match the primer to the material. Wood, MDF and veneer take a bonding primer. Laminate and thermofoil need one made for slick surfaces, and only while they're still firmly stuck down.
- Block tannins in oak. Honey-oak doors can bleed brown through white paint unless a stain-blocking primer goes on first.
- Stay with the enamel's system. Cabinet enamel data sheets list the primers that go under them, so pick one of those.
With kitchen cabinet painting from Great North, doors, drawer fronts and panels are sprayed. Most kitchens run
$3,200–$8,500 before HST, and cabinet finishes carry a written 2-year warranty. The whole job, from degreasing to rehanging, is set out in Should You Paint or Replace Your Kitchen Cabinets?
How is priming handled in a painting quote?
Priming is part of the prep, so it's usually built into the price rather than listed as an extra. The quote should still say which surfaces get primer, and what kind. "Prime as needed" doesn't let you compare two painters.
Heavy stains, many patches, glossy trim and big colour changes all add priming time. They are among the things that move a job within its price range. Point out each one when you send photos.
Every Great North price includes the prep. Every surface is cleaned, patched, sanded and primed where it needs it, then finished in two coats of the paint named in your quote. A crew lead checks every surface for repairs from your photos. Your written, itemized quote arrives
within 24 hours of seeing the job.
For interior painting, a bedroom's walls start
from $450 before HST. A job under one crew-day is billed at the $750 + HST minimum. For a price range on your own rooms, start with Get My Estimate.