

Last updated
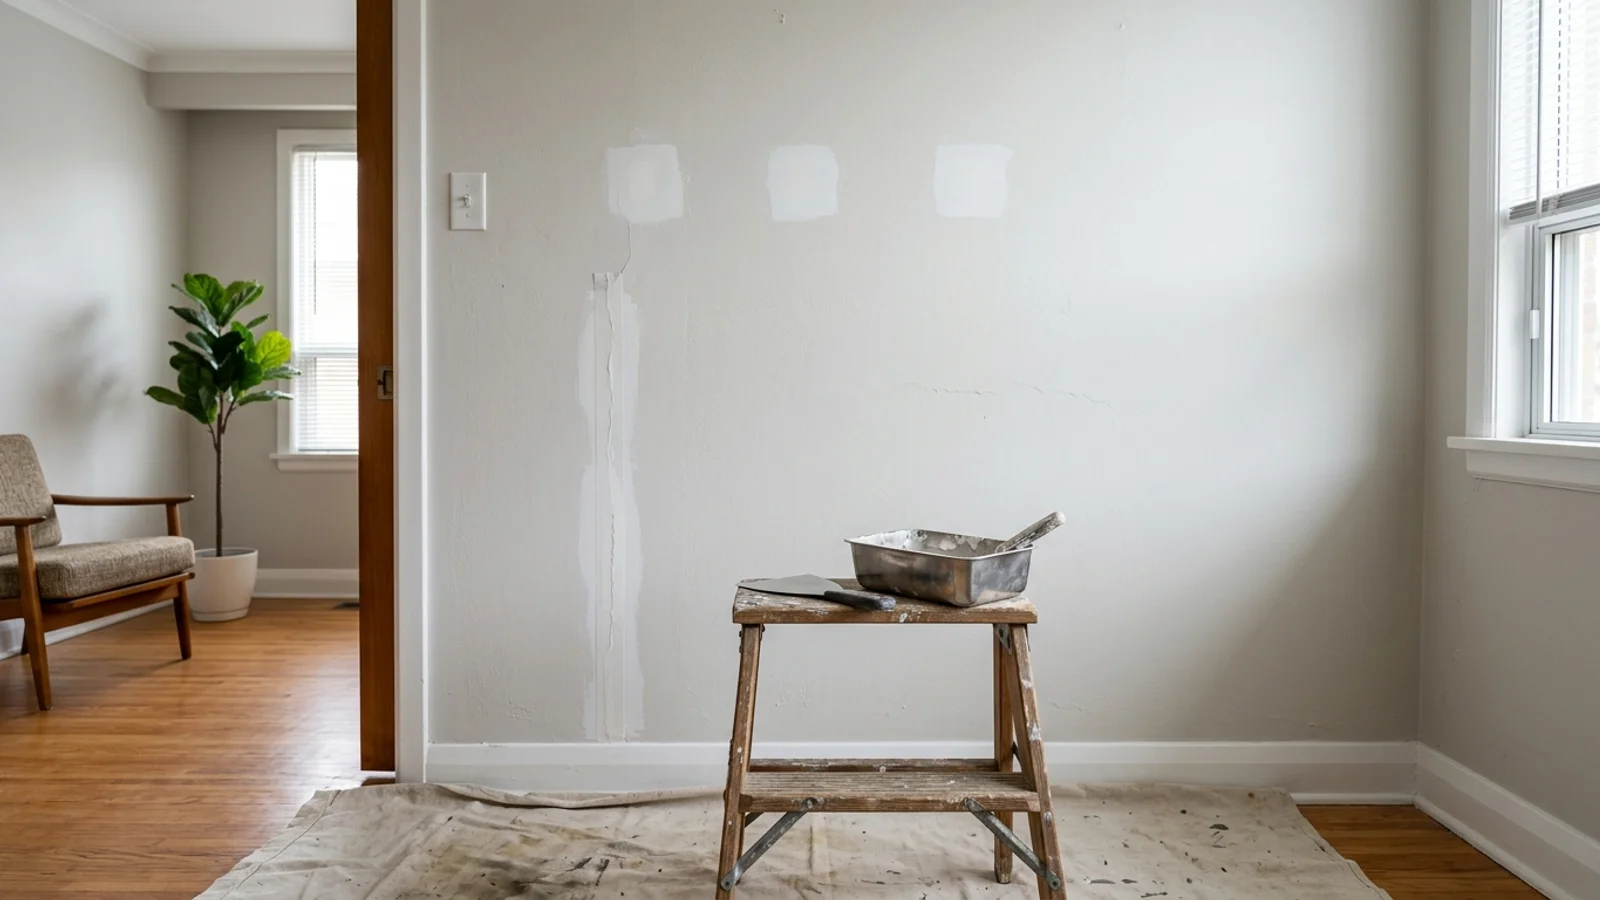
Nail pops are fixed by screwing the drywall tight to the stud about 40 mm from the pop. Cracks are re-taped and holes are patched. Most repairs take 2 or 3 thin coats of joint compound and a light sanding. Every patch is then primed, so it doesn't show through the new paint.
What causes nail pops, and how are they fixed?
Nail pops are mostly caused by the wood framing shrinking as it dries, which leaves the nail head standing proud of the wall. The fix is to pull the drywall tight to the stud with a new screw, then reset or remove the old nail. Loose fastening and bowed or twisted framing are other common causes.
The Gypsum Association, the drywall makers' trade group, sets out the core of the repair in its guide GA-222. With the finishing steps added, it runs like this:
- Press the drywall firmly against the stud or joist behind it.
- Drive a drywall screw into the same stud or joist, about 40 mm (1½ in.) from the pop, just below the surface without tearing the paper.
- Pull the old nail, or tap it back just below the surface.
- Scrape off loose paper and old compound.
- Fill both spots with joint compound in thin coats, each a little wider than the last.
- Sand smooth, spot-prime, then paint.
Timing matters. The same guide says pops that appear a month or more into the heating season are usually lumber shrinkage. Those should wait until the heating season ends. In the GTA, that means fixing winter pops in spring.
In a new Ontario home, don't count on the builder's warranty for them. Tarion administers Ontario's new home warranty. Its Construction Performance Guidelines say nail pops and cracks from normal shrinkage are excluded from the one-year warranty. Repairing them is at the builder's discretion, and is often best left until the framing has settled.
How are cracks in drywall repaired?
A crack is re-taped, not just filled. Filler alone sits in the gap and tends to split again along the same line when the wall moves. A lasting repair cuts out any loose tape and bridges the crack with new tape bedded in compound. The compound is then feathered out over two or three coats.
Where cracks usually show up:
- Corners of doors and windows. Movement concentrates at these corners, so cracks run out from them at an angle.
- Along seams. The tape over a joint has let go, so the loose tape is cut out and replaced.
- Where the wall meets the ceiling. On the top floor, a crack that opens every winter and closes in summer is usually truss uplift.
Paper tape is the usual choice for seams and inside corners. Mesh tape works on flat patches, but CGC, a major drywall maker, says fibreglass mesh must be bedded in setting-type compound.
Setting-type compound:
a powdered joint compound mixed with water that hardens by chemical reaction; the number on the bag, such as 20, 45 or 90, is roughly its setting time in minutes.
Truss uplift:
the seasonal arching of roof trusses in winter, which lifts the ceiling away from interior walls and opens a crack where they meet.
A re-taped uplift crack usually tears again the next winter. A common cosmetic fix is crown moulding fastened to the ceiling only, so it rides up and down over the wall. Tarion's guidelines accept uplift cracks from normal shrinkage in a new home, but not a gap wider than 4 mm.
How are dents and holes patched?
Small dents and nail holes are filled with lightweight spackle in one or two passes. Holes much bigger than a coin need something to bridge them: a mesh patch, or a new piece of drywall cut in and taped. Every patch is sanded flush and primed before paint.
| Damage | The repair |
|---|---|
| Nail hole or small dent | Lightweight spackle in 1 or 2 passes, sanded flush |
| Wall anchor or screw hole | Anchor pulled out or tapped below the surface, then filled in 2 passes |
| Doorknob or fist-sized hole | Self-adhesive mesh patch or a cut-in drywall patch, then 3 coats of compound |
| Hole bigger than a hand | Cut back to a clean rectangle, wood backing added, new drywall screwed in, seams taped, 3 coats |
| Water-stained or soft drywall | Leak fixed first, damaged section replaced, stain-blocking primer on any stain left |
Drying time decides how long repairs take. Ready-mixed compound dries by evaporation, which can mean waiting overnight between coats. Setting-type compound hardens on the clock, so the next coat can often go on the same day. CGC calls for at least 13°C in the building while joints are finished. That matters in a cold GTA basement or an unheated addition.
Why does every patched spot need primer?
Joint compound soaks up paint differently from the painted wall around it. Without primer, a patch dries duller or shinier than the rest of the wall and can show through two coats of paint. Primer seals the patch, so the finish coats look even.
Flashing:
a patch that shows through paint as a dull or shiny spot, because the surface under it soaked up paint differently.
Two things make flashing worse:
- Sheen. Eggshell and satin show it more than flat or matte paint.
- Side light. A window beside the wall throws light across it and picks out every edge.
Texture matters too. A glass-smooth patch on a roller-textured wall still shows. Rolling the primer on with the same kind of roller as the wall blends it in. With many patches on one wall, priming the whole wall gives the most even result. The reasons are covered in Do You Need Primer Before Painting?
Will repaired cracks and nail pops come back?
They can, if the house keeps moving. A crack from settling or seasonal movement may reopen along the same line. An uplift crack tends to return every winter, because the trusses keep moving with the seasons. Re-taping, rather than filling, gives a repair its best chance of lasting.
Great North's written warranty covers peeling, blistering and flaking caused by application defects. It excludes structural movement, so a crack that reopens because the house moved isn't covered. The full terms are on the warranty page. A crack that keeps widening, or comes with sticking doors, is worth having checked before it is painted over.
Is it safe to sand old drywall compound?
In most newer homes, yes, with dust control. In a home built before about 1990, old joint compound may contain asbestos, so have it tested before anyone sands, cuts or removes it. Ontario's guide to its asbestos regulation lists joint compounds and spackling compounds among suspect materials.
Filling a nail hole disturbs very little. Sanding old seams, cutting out damaged sections or tearing out walls is what raises dust. Health Canada advises hiring a professional to test for asbestos before renovating. The same caution applies to textured ceilings, covered in Do Popcorn Ceilings Contain Asbestos in Ontario?
Even asbestos-free compound makes fine dust. CGC's data sheet for one of its joint compounds calls for a respirator. It also calls for a sander with a vacuum attachment, or wet-sanding, to keep the dust down.
How are drywall repairs priced?
Drywall repair is quoted per project and is usually done as part of the paint job. Every Great North painting price already includes cleaning, patching, sanding and priming where the surface needs it. A bedroom's walls start from $450 before HST, with routine patching included.
A repair on its own, or any job under one crew-day, is billed at the $750 + HST minimum. That is why it pays to fix everything before a repaint, in one visit. The reasons are explained in Why Do Painters Have a Minimum Job Charge?
To get a price, use Get My Estimate or text us photos of the damage. A crew lead checks every surface for repairs from your photos, and your written, itemized quote arrives
within 24 hours of seeing the job. The work is covered by a written 5-year workmanship warranty. See drywall repair and interior painting for more.